")

Drawing bird patterns can be a fun and creative activity, whether you are designing artwork, crafting, or simply relaxing with a pencil. How to Draw Bird Patterns Step by Step guides you through the process, from simple sketches to more detailed designs.
Gathering Supplies for Drawing Bird Patterns
Before you start drawing bird patterns, gather a few basic supplies. These will help you create smooth, detailed designs.
Supplies Needed
- Pencil
- Eraser
- Paper
- Ruler (optional)
- Colored pencils or markers

Step-by-Step Guide to Drawing Bird Patterns
Follow these steps to create beautiful bird patterns from scratch. With each stage, you will build your skills to produce more complex designs.
Step 1: Sketch the Basic Bird Shape
Start by drawing a simple bird shape. It doesn’t have to be perfect at this stage, as you’ll refine it later. Use light, smooth strokes with your pencil.
Basic Bird Shapes
- Oval body
- Pointed wings
- Small tail
- Rounded beak
Step 2: Add Details to the Body
Once the basic shape is sketched, focus on adding details to make the bird look more realistic or stylized.
Body Details
- Feathers along the body
- Small eye
- Thin legs
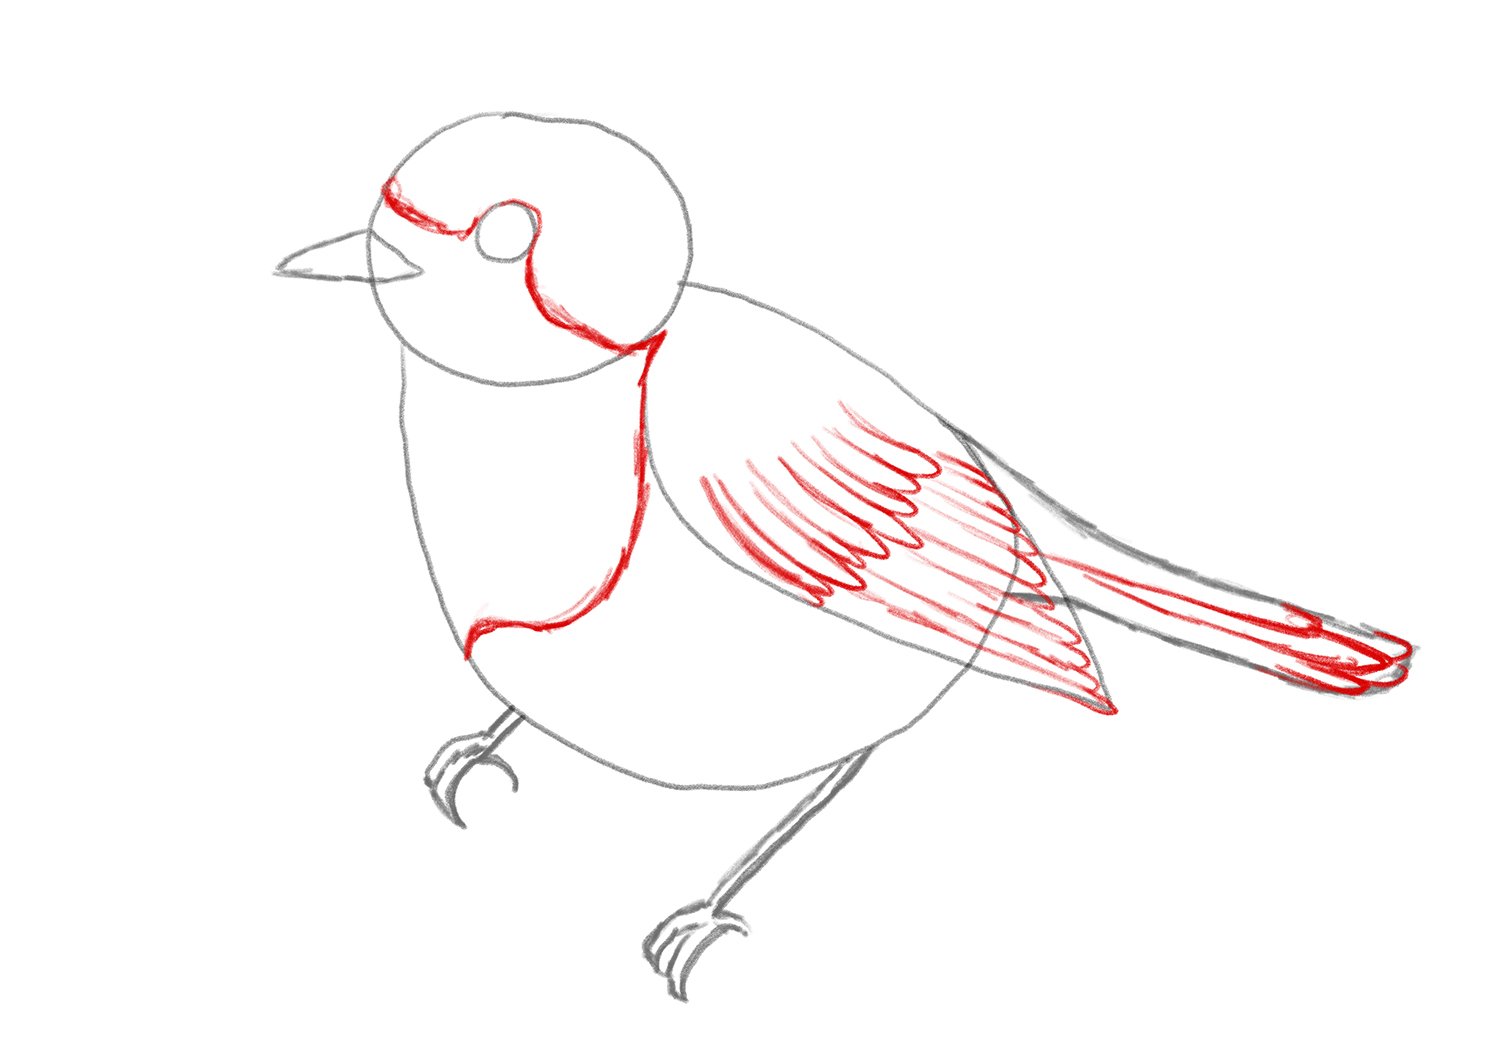
Step 3: Draw the Wings and Tail
Wings and tails are key features of bird patterns. These elements add movement and variety to your design.
Wings and Tail Details
- Feather patterns
- Curved wings
- Different tail shapes (e.g., fan-shaped or pointed)
Adding Patterns and Textures
Once the bird’s outline is complete, you can add patterns and textures to give it depth and character.
Step 4: Add Feather Patterns
Feather patterns enhance the realism or creativity of your bird drawing. You can create different types of feathers based on the species or style you want.
Feather Pattern Ideas
- Short, uniform feathers
- Long, layered feathers
- Varied sizes for a dynamic look
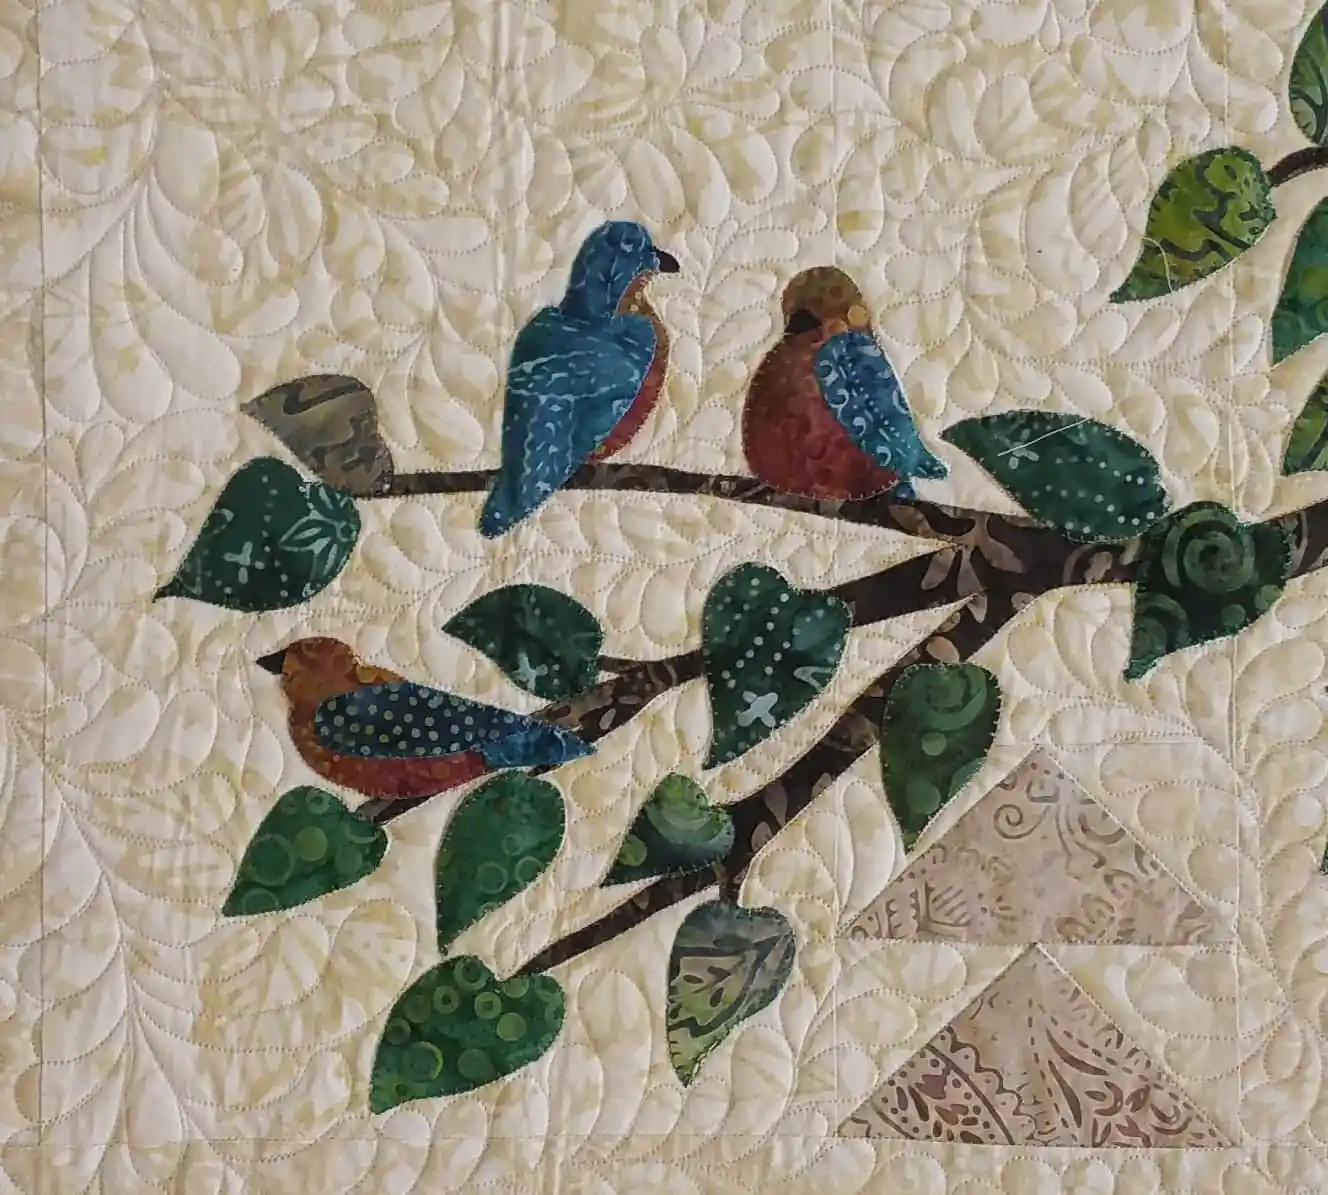
Step 5: Incorporate Decorative Details
Enhance your bird pattern by adding decorative elements such as floral patterns, spirals, or geometric shapes.
Decorative Details
- Leaves or vines
- Dotted patterns
- Swirls
Coloring Your Bird Pattern
Coloring helps bring your bird pattern to life. Choose colors that match the bird species or create a unique, imaginative look.
Step 6: Select Your Color Palette
Choose a color palette that suits your design. You can go for realistic tones or bold, vibrant colors for an artistic effect.
Color Options
- Natural colors for realistic birds
- Bright, contrasting colors for abstract designs
- Monochrome shades for a minimalist look
Step 7: Shade and Blend
Add depth to your bird pattern by shading specific areas. Use smooth blending techniques to make colors flow seamlessly.
Shading Techniques
- Light to dark gradients
- Soft edges for blending
- Cross-hatching for texture
Refining Your Bird Pattern
After adding colors and textures, go back and refine your drawing. Make corrections and adjust details for a polished look.
Step 8: Erase Unwanted Lines
Erase unnecessary lines to clean up the drawing. Focus on highlighting the most important features, such as wings or eyes.
Refinement Tips
- Smooth rough edges
- Add finer details
- Ensure symmetry where necessary
Final Touches and Finishing
The final touches add the final layer of detail and polish to your bird pattern. Consider adding backgrounds or surrounding elements for a complete design.
Step 9: Add Background or Borders
Use backgrounds or borders to frame your bird pattern. This creates a more cohesive and visually appealing artwork.
Background Ideas
- Sky-themed backgrounds
- Nature-inspired scenery
- Geometric shapes
Conclusion: How to Draw Bird Patterns Step by Step
Creating bird patterns is a rewarding and creative process. From simple sketches to detailed designs, this guide helps you develop beautiful, unique patterns. How to Draw Bird Patterns Step by Step ensures your artistic journey is smooth and enjoyable.