Creating realistic acrylic portraits is an art that requires practice, patience, and attention to detail. Acrylics are versatile and forgiving, making them an excellent medium for beginners and experienced artists. In this article, we’ll share some practical tips to help you achieve lifelike results in your portraits. By following these steps, you can elevate your painting skills and bring your subjects to life on canvas.
Start with a Clear Reference Photo
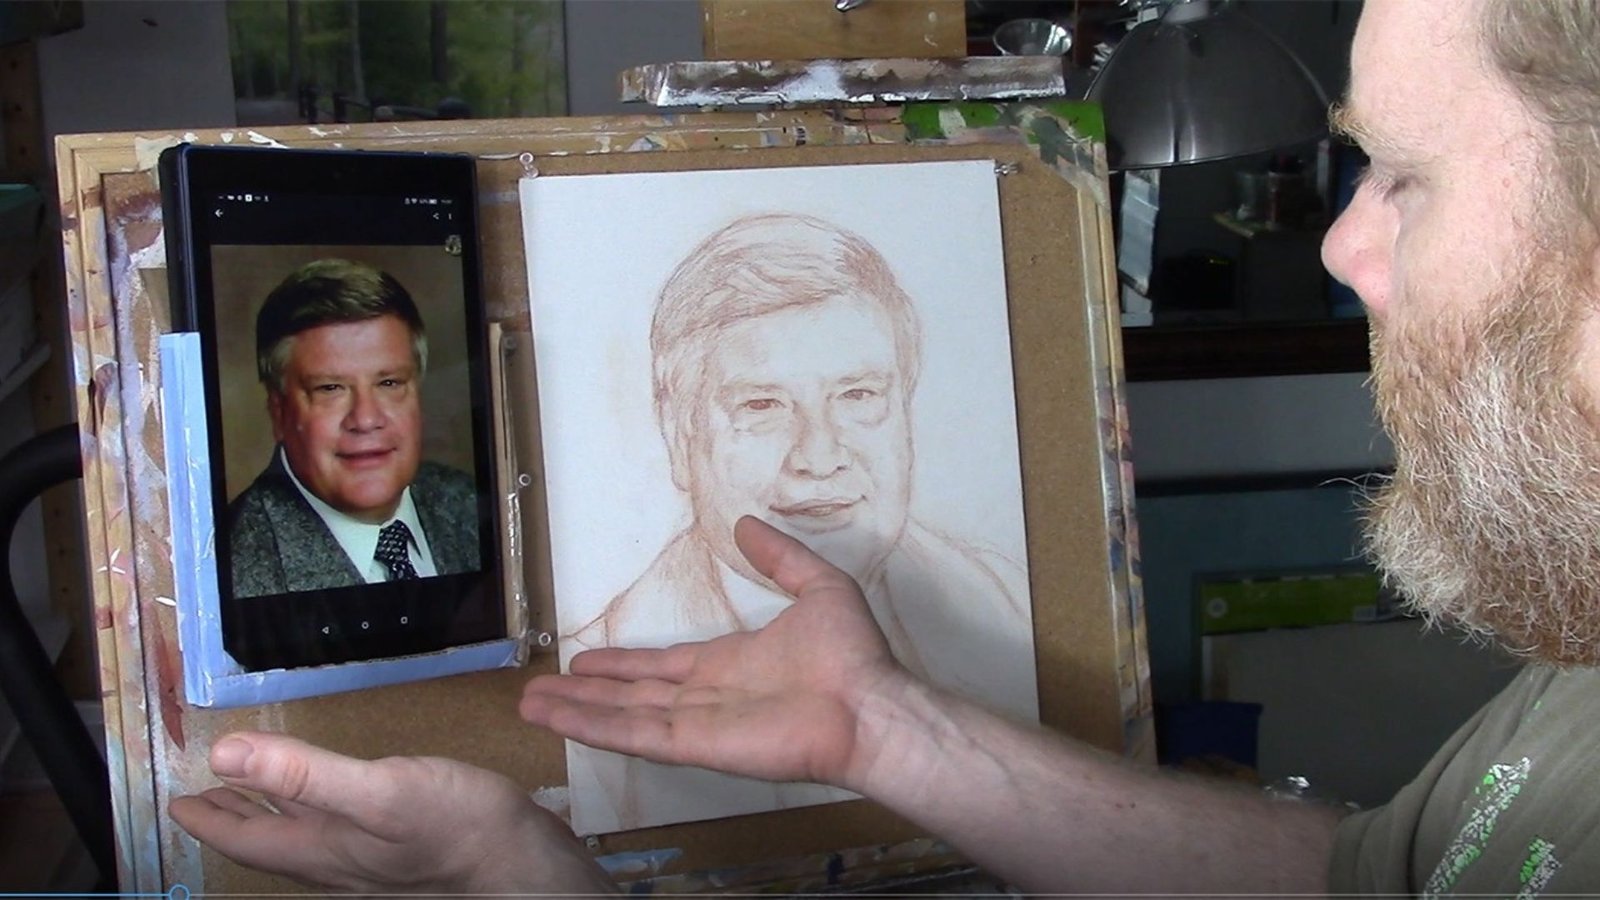
The first step in creating realistic acrylic portraits is choosing a high-quality reference photo. Your reference should have good lighting and clear details, as this will guide you in capturing accurate features, shadows, and highlights. A well-lit photo helps you understand the depth and structure of the subject’s face, which is essential for realism. Avoid blurry or overly edited images as they can make it harder to replicate fine details.
Prepare Your Canvas and Materials
Preparation is key when working on acrylic portraits. Choose a canvas size that allows you to work comfortably on details. Prime your canvas with gesso to create a smooth surface, as this helps the paint glide more easily. Use high-quality acrylic paints and brushes suited for fine details, such as round or liner brushes. Having the right tools ensures better control and precision when creating intricate features.
Sketch the Outline Carefully
Before applying paint, start with a light pencil sketch of your subject. Pay close attention to proportions and placement of facial features. Use a grid method if necessary to ensure accuracy. This sketch serves as the foundation for creating realistic acrylic portraits, so take your time to get it right. A strong outline will make the painting process much smoother.
Work in Layers
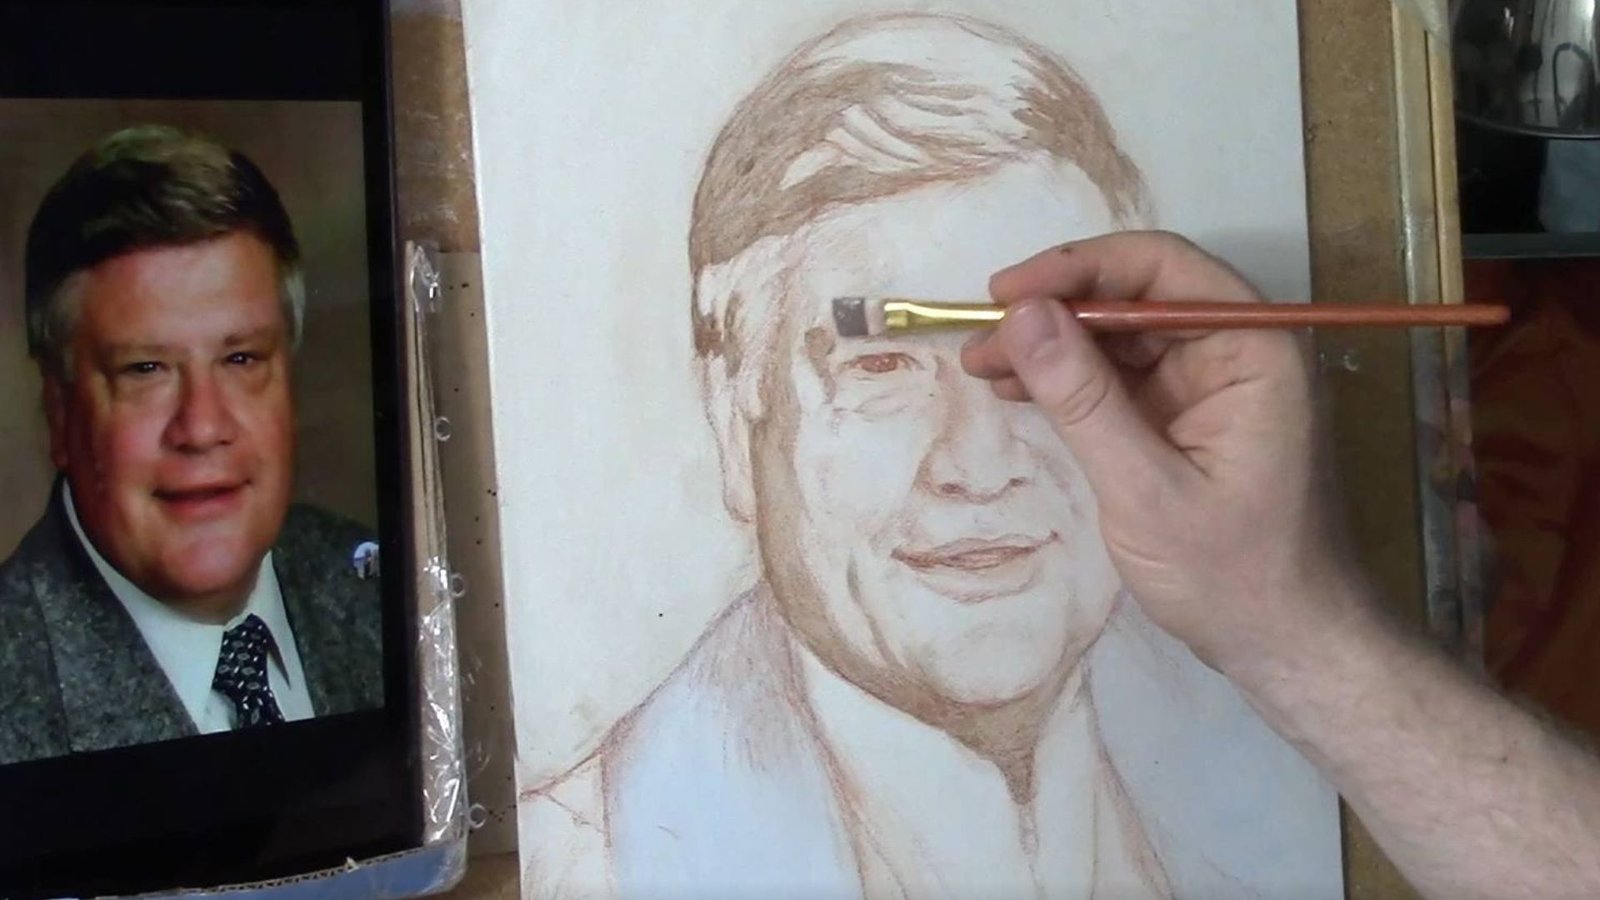
Acrylics dry quickly, which makes them ideal for layering. Begin with a base layer to block in the main colors and shapes. Gradually build up layers to add depth, texture, and detail. Start with lighter colors and work towards darker tones, as this technique helps in achieving a realistic three-dimensional effect. Remember to let each layer dry completely before adding the next.
Focus on Skin Tones
Achieving realistic skin tones is one of the most challenging parts of creating realistic acrylic portraits. Mix your colors carefully, using a combination of red, yellow, white, and a touch of blue to create natural-looking skin tones. Study your reference photo to capture subtle variations in color. Use soft blending techniques to smooth out transitions between highlights and shadows.
Pay Attention to Light and Shadow
Lighting plays a crucial role in creating realism. Observe how light falls on your subject in the reference photo and replicate it in your painting. Use lighter shades for areas hit by light and darker tones for shadows. Adding highlights to areas like the forehead, nose, and cheekbones can make your portrait pop. Shadows around the jawline and under the eyes add depth and dimension.
Detail the Eyes and Mouth
The eyes and mouth are focal points in any portrait, so they deserve extra attention. For realistic eyes, focus on the iris, reflections, and shadows to give them a lifelike sparkle. When painting the mouth, capture the subtle curves and shading that define the lips. These small details make a significant difference in the overall realism of your portrait.
Use a Fine Brush for Small Details
To achieve realism, you need to pay attention to small details like eyelashes, wrinkles, and hair strands. Use a fine-tipped brush to add these elements with precision. Work slowly and build up details gradually. These finishing touches can bring your portrait to life and make it more compelling.
Blend Smoothly for a Natural Look
Blending is a critical skill in creating realistic acrylic portraits. Use a soft, damp brush to blend colors seamlessly. Avoid harsh lines unless they are intentional. Smooth transitions between colors and tones are essential for a natural look. Acrylic mediums like glazing liquid can also help in achieving smoother blends.
Evaluate and Refine
Once your portrait is complete, take a step back and evaluate it. Look for areas that may need refining or additional details. Compare your painting to the reference photo to ensure accuracy. Making small adjustments at the end can elevate the realism of your work.
Conclusion
In conclusion, creating realistic acrylic portraits requires practice, patience, and attention to detail. By starting with a clear reference photo, preparing your materials, and focusing on techniques like layering, blending, and shading, you can achieve lifelike results. Remember to pay attention to the eyes, mouth, and skin tones, as these elements are key to realism. With dedication and consistent practice, you’ll see significant improvements in your acrylic portraits.