


If you’re looking for a creative and fun project, learning how to make DIY acrylic keychains is a perfect choice. These keychains are simple to create and can be customized to match your style or make thoughtful gifts. In this article, we’ll walk you through every step, from gathering materials to completing your masterpiece.
Gather Your Supplies
Before starting, make sure you have all the materials you need. To make DIY acrylic keychains, you’ll need acrylic blanks, permanent vinyl or paint pens, transfer tape, a keychain attachment, and a clear sealant. You can easily find these items at craft stores or online. Having everything ready before you begin will make the process smoother.
Choose Your Design
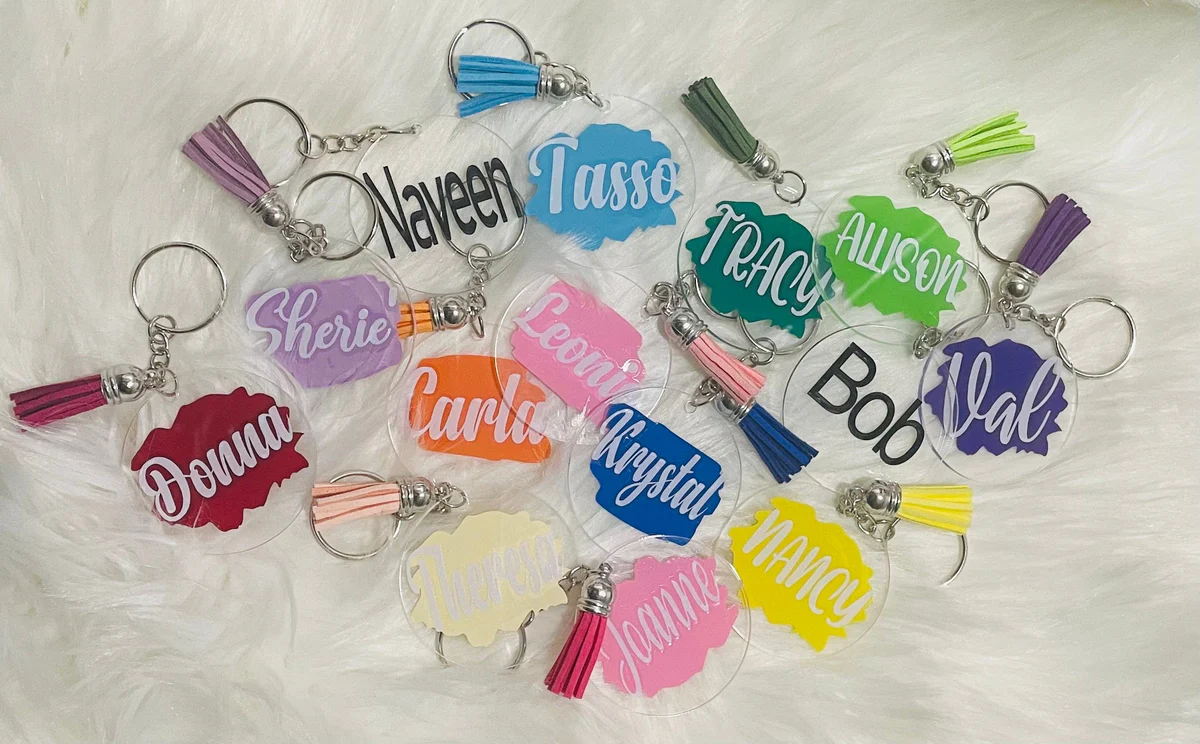
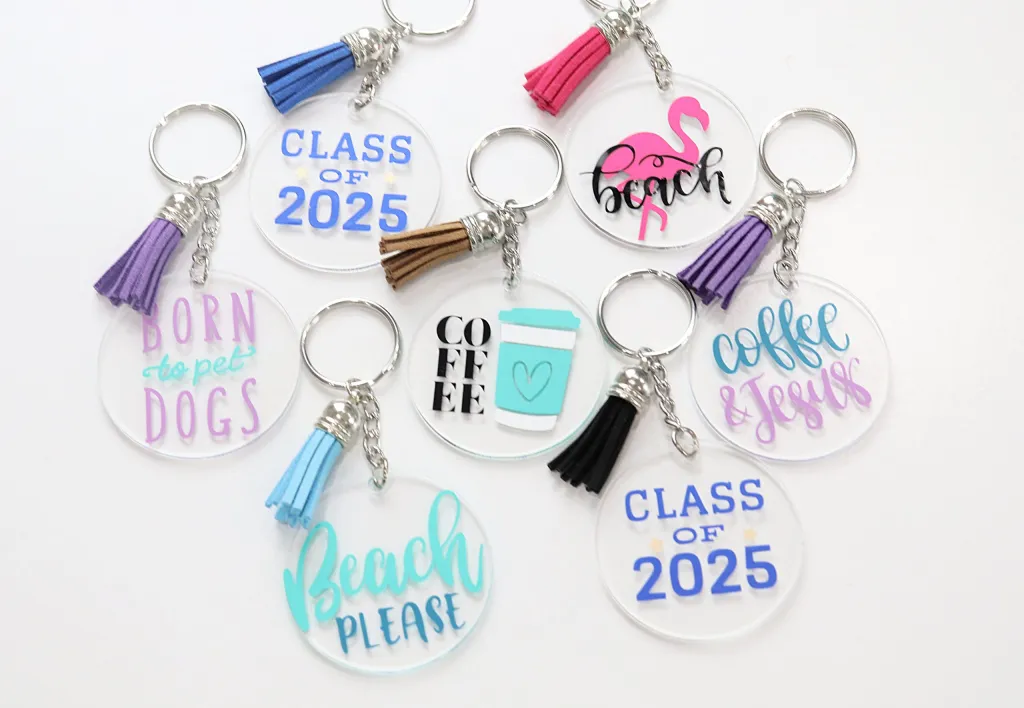
The first creative step is deciding on a design for your keychain. You can personalize it with a name, a monogram, a favorite quote, or a fun graphic. If you’re using vinyl, you can cut out your design using a cutting machine. For a freehand approach, paint pens allow you to draw directly on the acrylic blank.
Prepare the Acrylic Blank
Once you have your design ready, it’s time to prep the acrylic blank. Remove any protective film covering the blank to ensure a clean surface. Use a lint-free cloth to wipe it down, ensuring there’s no dust or residue that might interfere with your design application.
Apply Your Design
If you’re working with vinyl, use transfer tape to position the design onto the acrylic blank. Carefully press the vinyl onto the surface, smoothing out any bubbles as you go. For those using paint pens, carefully draw your design directly on the acrylic blank, allowing it to dry completely before moving on.
Seal Your Design
Sealing your keychain is an important step to protect your design from scratches or peeling. Use a clear spray sealant or a brush-on sealant, depending on your preference. Apply a thin, even coat and let it dry thoroughly before handling the keychain. This step ensures your design remains vibrant and durable over time.
Attach the Keychain Hardware
Once the design is sealed and dried, attach the keychain hardware. Most acrylic blanks come with a pre-drilled hole, making this step easy. Simply open the jump ring with pliers, loop it through the hole, and attach it to the keychain ring. Close the jump ring tightly to secure everything in place.
Add Extra Details
To make your DIY acrylic keychain stand out, consider adding extra embellishments. You can attach tassels, charms, or beads to give it a unique touch. These small additions can make your keychain look even more personalized and stylish.
Check the Final Product
Before using or gifting your keychain, inspect it closely to ensure everything is secure and looks just the way you want. Double-check that the sealant is completely dry and the hardware is firmly attached. A quick inspection helps avoid any issues later.
Tips for Success
To achieve the best results when making DIY acrylic keychains, keep these tips in mind:
- Work in a clean, dust-free environment to prevent imperfections.
- Take your time with each step to ensure precision.
- Use high-quality materials for a durable and professional-looking finish.
Conclusion
Learning how to make DIY acrylic keychains is a rewarding and enjoyable project that allows you to express your creativity. With a few materials and some patience, you can create beautiful, personalized keychains that are perfect for yourself or as gifts. Follow these steps, and you’ll have a unique piece of art you can proudly carry around or share with others.


